First: What Is Home Assistant?
Instead of juggling 10 separate brand apps and monthly cloud subscriptions, Home Assistant runs on one small, silent box plugged into your home router — bringing 2,500+ brands and thousands of devices together into one private app on your phone, limited only by your imagination.
You do not need to wire your whole house at once! If all you want on Day 1 is controlling a couple of lights, you can start right there — and add new rooms slowly over time as you save money. Compared to professional smart-home installers (who charge thousands up front) or alarm companies (who charge $60+ per sensor plus $50 every month forever), doing it yourself with Home Assistant costs dramatically less with $0 monthly fees:
Keep track of every door, window, glass-break sensor, smart lock, and keypad with zero monthly monitoring bills.
Control TVs and room speakers everywhere — plus play spoken reminders that automatically resume your music or show.
Trigger morning routines from your calendar, and automatically pull work schedules from a company website onto Google Calendar.
Get a friendly voice alert and a one-tap "Close Garage" button on your phone if a garage door is left open.
Eliminate Wi-Fi bottlenecks so you actually get the speed you pay your provider for — plus use motion detectors to switch your phone between garage and house access points.
Spot a drip behind a washer, toilet, or water heater and shut your main house water valve off in 3 seconds.
Connect Google Antigravity Through SSH to Home Assistant Green — And Just Talk to It!
You never have to learn programming languages or hunt down complicated menus. Once you connect Google Antigravity to your Home Assistant Green through a simple 3-minute local SSH link, you literally just explain what you want in plain English — and Antigravity logs into Home Assistant Green, backs up your settings, writes the automation, checks for errors, and turns it on for you automatically!
Before Buying Devices: Choose Your “Brain” (Home Assistant Green vs. Mini PC vs. Both)
Every smart home project starts with one foundational choice: what box is going to run it? Some homes only need a $119 plug-and-play Home Assistant Green, some do great with a single Mini PC, and many homeowners actually get the best results by keeping Home Assistant Green and a Mini PC separate. Answer these 5 quick questions to see which setup fits your exact plans:
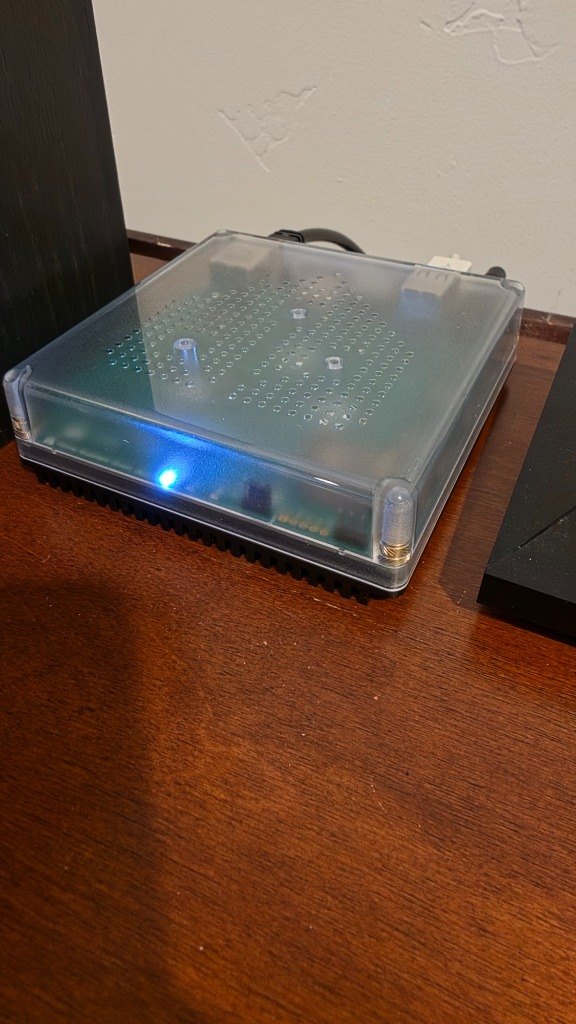
Option 3: BOTH — Home Assistant Green + Separate Mini PC
Keep your house’s critical brain 100% isolated on Home Assistant Green while your Mini PC handles Plex, storage, dashboards & daily projects!
When you’re running a Plex media server, storing heavy video, OR actively using your Mini PC via Remote Desktop and Google Antigravity to build websites and experiment with new tools, separating the two boxes is a game-changer. Your Mini PC can max out its CPU transcoding 4K movies or reboot during a late-night project — and your house’s lights, locks, garage doors, and security system on Home Assistant Green never blink for even one second!
- 100% Family Uptime Guarantee: Rebooting your Mini PC after updates or website builds NEVER interrupts wall switches, baby-room thermostats, or alarms
- Zero USB Antenna Headaches: Your Zooz Z-Wave & Zigbee sticks stay permanently plugged into Home Assistant Green in a central spot of your house — no VM USB pass-through quirks!
- Dedicated Muscle Where Needed: Your Intel N150 Mini PC focuses 100% on 4K Plex transcoding, large storage drives, Remote Desktop, and running Google Antigravity (connecting seamlessly to Home Assistant Green over local SSH!)
- Other Smart Split Scenarios: Also ideal if kids run Minecraft/game servers on the Mini PC, if you record 24/7 NVR security cameras, or if your media closet is in a basement corner with poor wireless reach
Box #1: Dedicated 24/7 Uninterruptible Smart Home Brain
Check Price on AmazonBox #2: Dedicated 4K Plex Server, Storage & Antigravity Workstation
Check Price on AmazonThe #1 Starter Project: Smart Switches vs. Lamp Plugs vs. Smart Bulbs (+ Hands-Free Motion!)
Almost everyone starts their smart home with lighting — and the biggest beginner mistake is buying smart bulbs when you actually wanted a smart wall switch or a smart lamp plug (or buying a regular motion sensor for a couch room where people sit still!). Compare the 3 ways below, then answer 3 quick questions to build your exact starter kit:
Best for ceiling & porch fixtures. Replaces your wall switch so 1 switch controls all ceiling cans at once — and family/guests can still click the wall paddle normally!
Best zero-wiring start. Plug into any wall outlet in 5 seconds to automate table lamps, floor lamps, coffee makers & holiday trees — zero screwdrivers needed!
Best for colors & warm ambiance. Screw into lamps for cozy amber evenings, sunrise wake-up alarms, or holiday colors. (Keep the lamp switch left ON!)
Smart Wall Switches & Dimmers (The #1 Way to Automate Ceiling Lights)
Why buy 8 smart bulbs for a kitchen ceiling when ONE $35 Smart Wall Switch makes all 8 lights smart at once — AND still works like a normal wall switch for family and houseguests? If your home was built after ~1985 (with white neutral wires in the box), Z-Wave wall switches are unbeatable:
Zooz 800 Series Z-Wave Long Range Wall Dimmer (ZEN77)
Smooth dimming, works in 3-way hallways alongside your existing dumb 3-way switch, and never crowds your Wi-Fi!
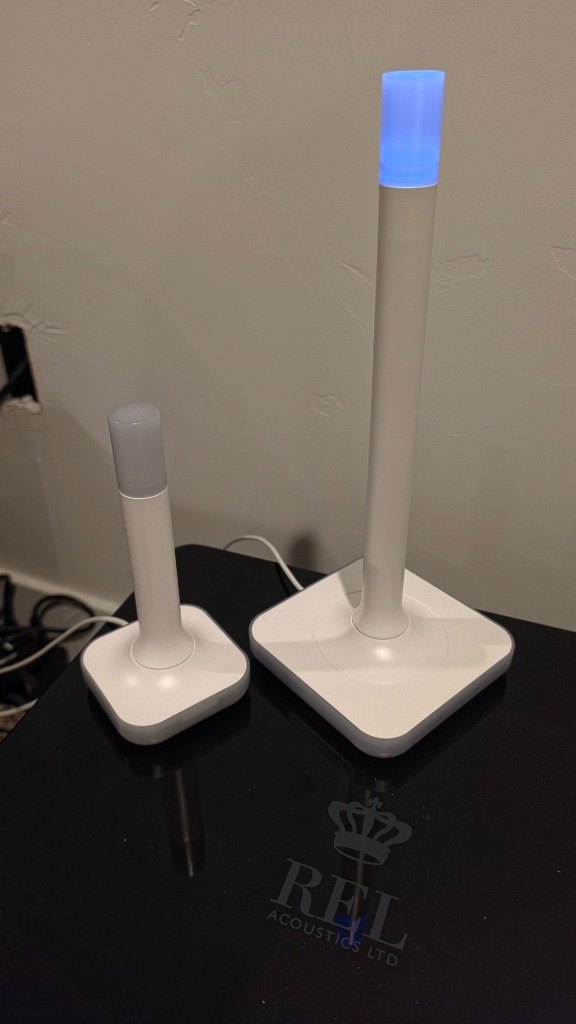
ThirdReality Zigbee Motion Sensor (AAA Battery) or Zooz ZSE18 Z-Wave Motion
Stick up in 10 seconds in hallways, stairs, pantries, closets, laundry rooms, or garages — lights turn ON the instant you walk in and turn OFF automatically a few minutes after you leave!
Zooz 800 Z-Wave Stick + SONOFF Zigbee 3.0 USB Dongle
Plugs straight into Home Assistant Green (or Mini PC) so your hub can talk locally to any Z-Wave switch AND any $15 Zigbee plug, bulb, or motion sensor!